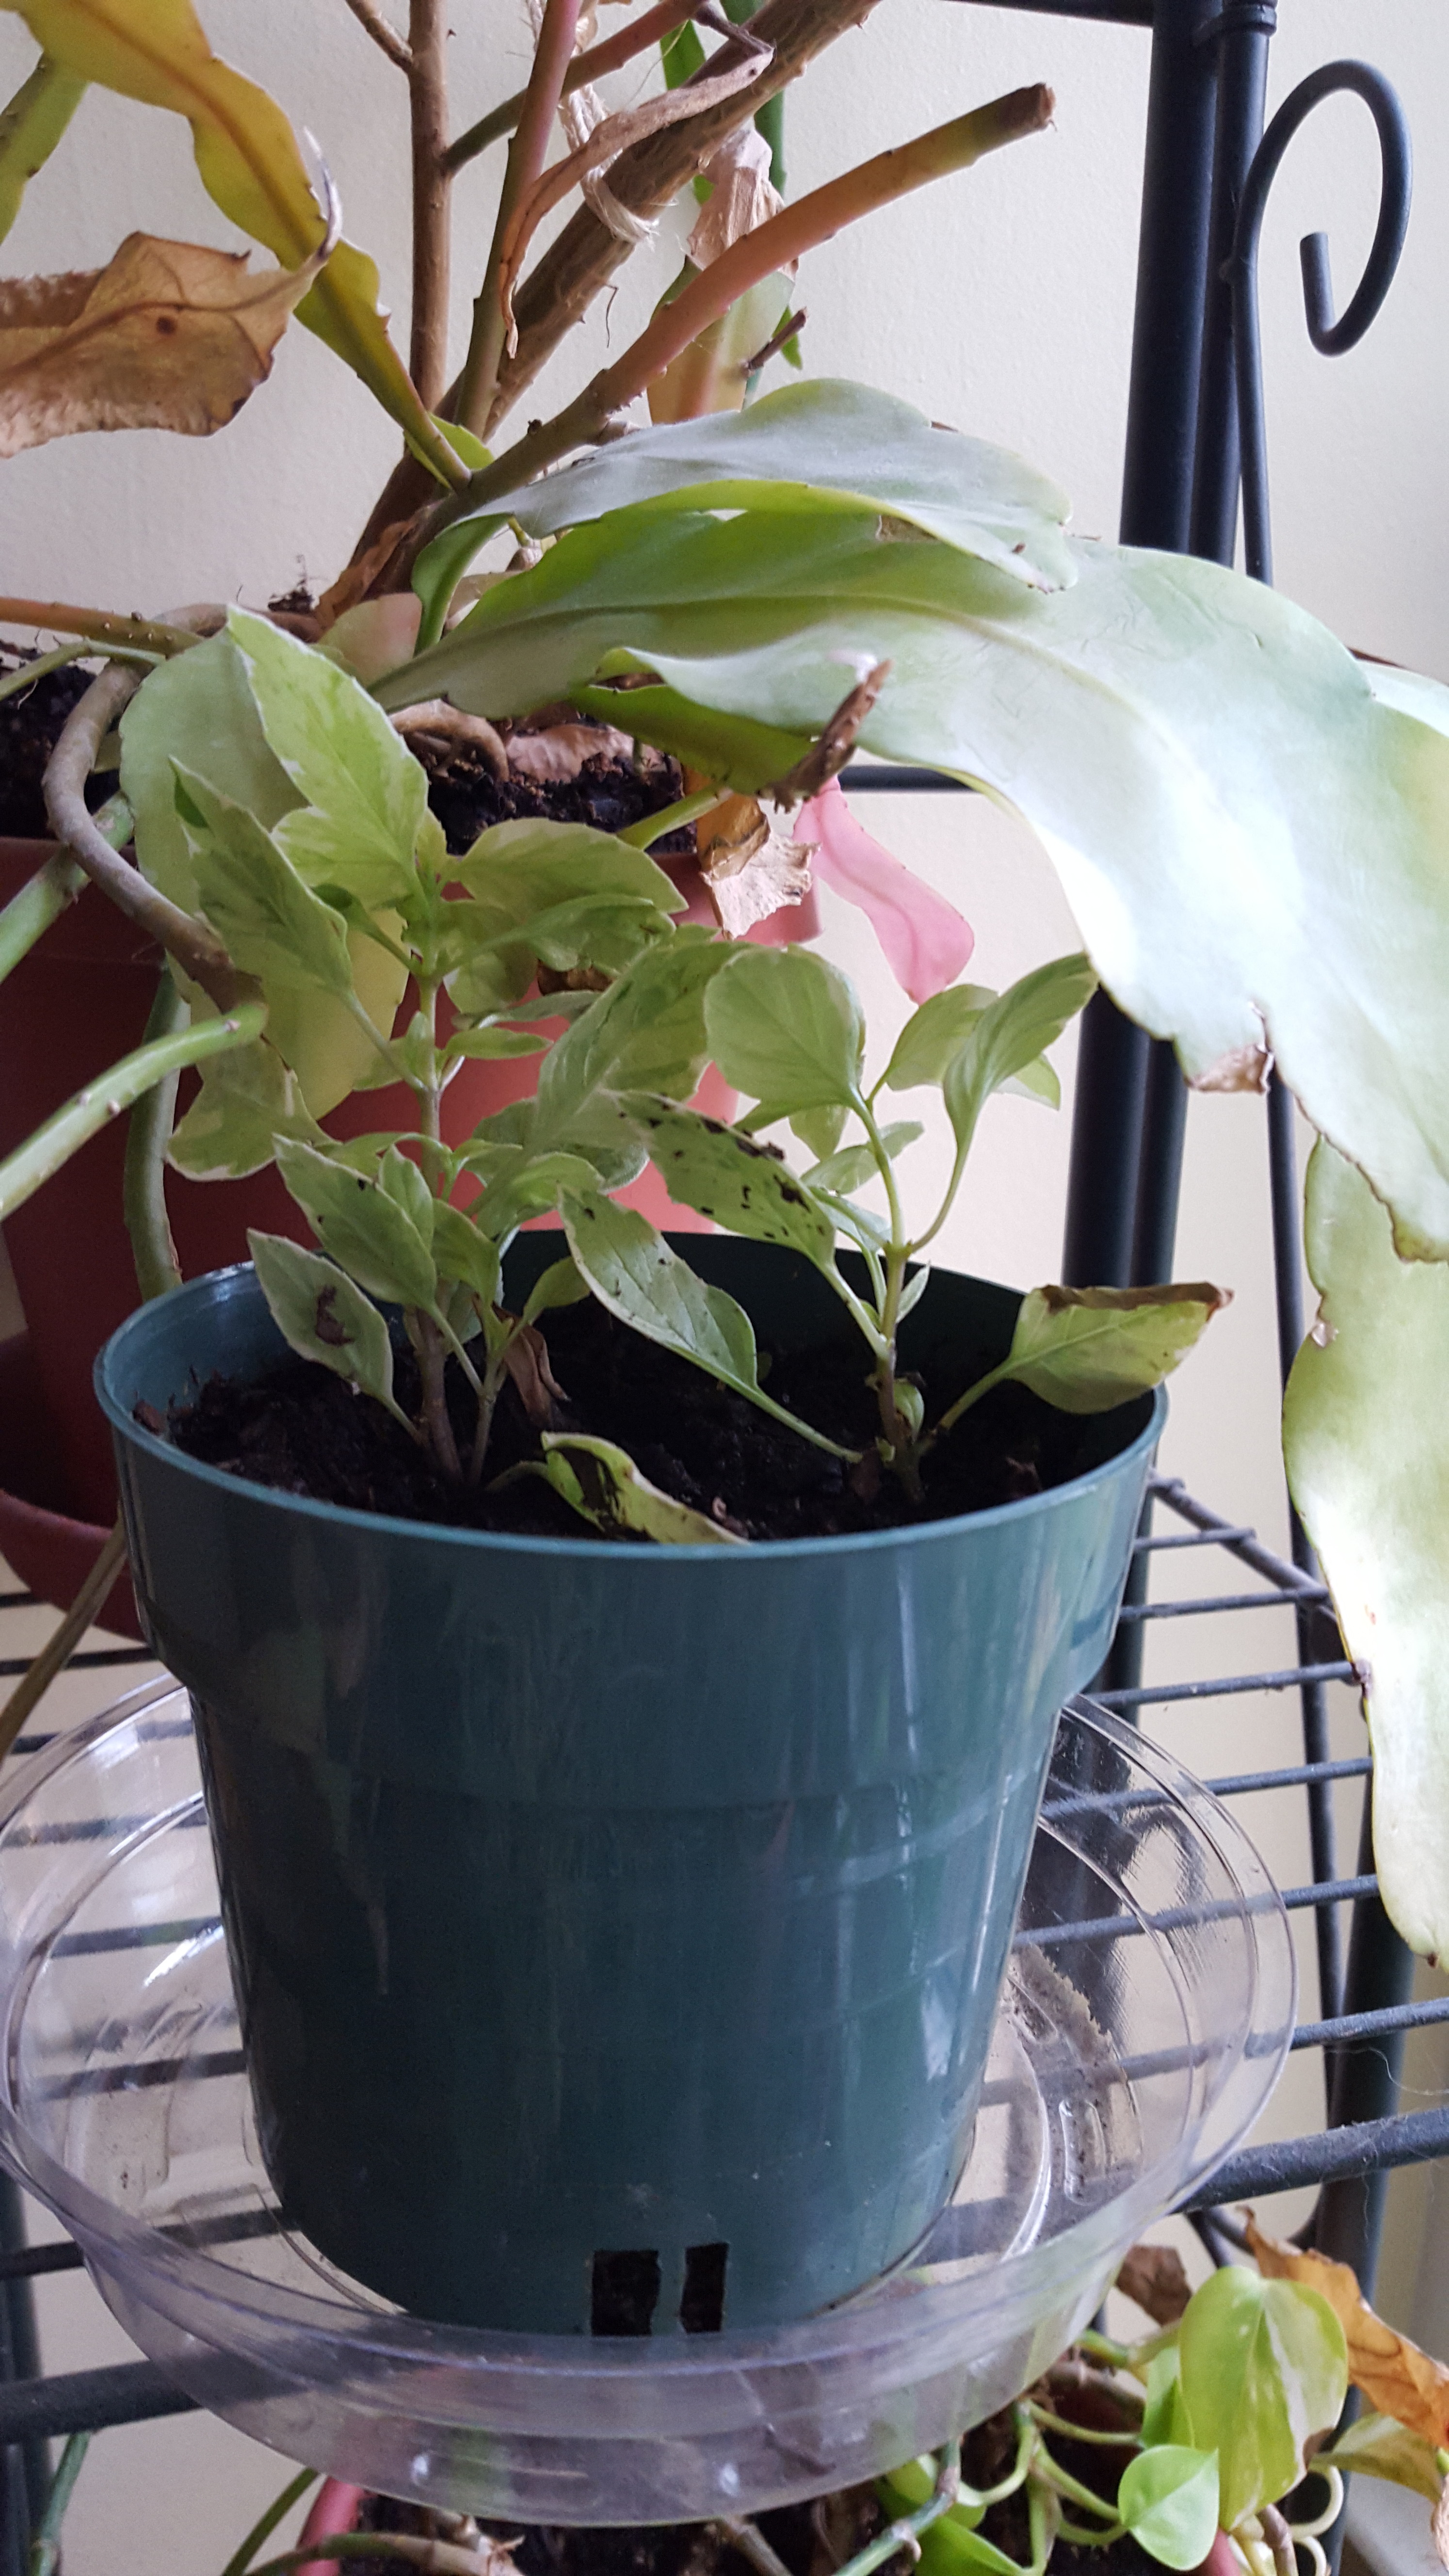
Basil Cuttings
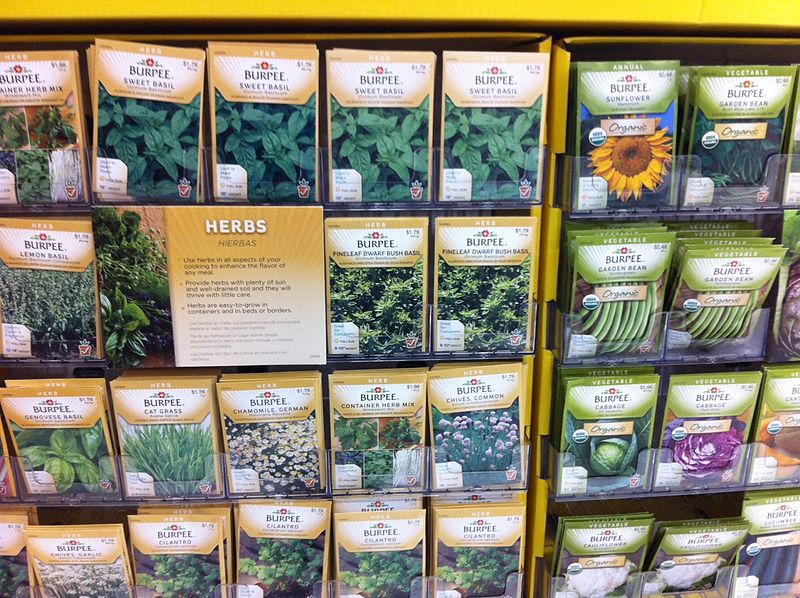
Where can you get herbs for your garden? The easiest way to obtain herbs is to buy plants from your local nursery or one of the Big Box stores. You won’t get much variety, though. You can also order plants from catalogs. Or you can make your own herbs. Here’s how:
Division
The easiest way to make herbs is through the division of perennials. Perennials need to be divided every few years because they die out in the middle of the plant and the dead material attracts insects and disease. Carefully dig up your perennial herbs, trying not to disturb the roots too much. Using a clean, sterile knife cut off the healthy, new parts, and discard all the dead material. Replant the new plants. You can also share some with your gardening friends.
Most “authorities” tell you to divide your perennial herbs in the spring, with fall being your second choice. I disagree and always divide my perennial plants, including my herbs in the fall for two reasons. The first reason is that I simply don’t have time in the spring. The second reason and probably the best reason, is that when you divide your plants, they will go into transplant shock for two weeks. This will set them back two weeks in the spring. By “shocking” them in the fall, you are actually giving them time to settle into their new homes before winter sets in and they go dormant. And even though the air may be cold in the late fall and early winter, the soil is still warm. Underground, the roots are growing, giving your plants a headstart for spring. When spring arrives, they will be ready to go.
Layering

Rooting Hormone
Layering is anromanother method to create new plants from existing ones. It takes longer than division or cuttings, which we will cover below. Layering works best with woody herbs such as sage, lavender, rosemary, catmint, thyme, French tarragon, winter savory, germander, artemisia, Roman chamomile and lavender cotton. To layer a plant, wait until after the herb has flowered and new growth is beginning. Choose a stem that is long enough so that when it is bent, it will reach the soil plus 1 inch. Remove all of the leaves except those at the tip. The places on the stem where the leaves have been removed will be where the new roots will grow. You can add a commercial rooting hormone if you like but it is not necessary. Leave enough leaves at the tip of the stem to provide food for the stem while the new roots are developing.
Dig a 1-inch deep trench where the stem will touch the ground. Bend the stem to the ground in the trench and fill it in. If your stem won’t stay bent, you can carefully “pin it” in place using the same staples that you use to anchor shade cloth. Keep your layered stem evenly moist until you see new leaves developing on the tip. This is your clue that the stem has produced new roots. Sever the stem from the “mother plant”, carefully dig it up trying not to disturb the new fragile roots and transplant it to its new home.
Cuttings
Cuttings is another way to make plants. Do this in the spring after the plants have started their growth. Make your cuts 3˝ – 4˝ from growing tip, strip off about an inch or so of the leaves, dip the bare stem in rooting hormone and then stick it in a soil-less mix.
Let’s talk about soil for a moment. It’s best to start your cuttings and seeds (which we’ll get to in a moment) in a soil-less mix which is just what it sounds like. It’s sterile material with no soil. You can purchase it at your local nursery. DO NOT under any circumstances use soil from your yard. I don’t care what the internet boards say. Baking it or microwaving it is not going to make it safe. You are risking bringing insects and disease into your home or greenhouse. Don’t do it. Use a sterile commercial product.
Keep your cuttings moist. Not wet, moist. How do you tell if roots are developing? If there are new leaves growing, then there are roots. Another way to tell if roots are developing is to tug lightly on the cutting. If there is resistance, roots are growing and hanging on for dear life. If the cutting comes out of the ˝soil˝, no roots have grown yet. Stick it back in again. Just don’t do this every day.
Once roots have developed, you are going to need to fertilize. Remember, you are using soil-less medium. There are no nutrients in it so you must provide it. Use a 20-20-20 or a 20-10-20 fertilizer according to the directions.
Seeds
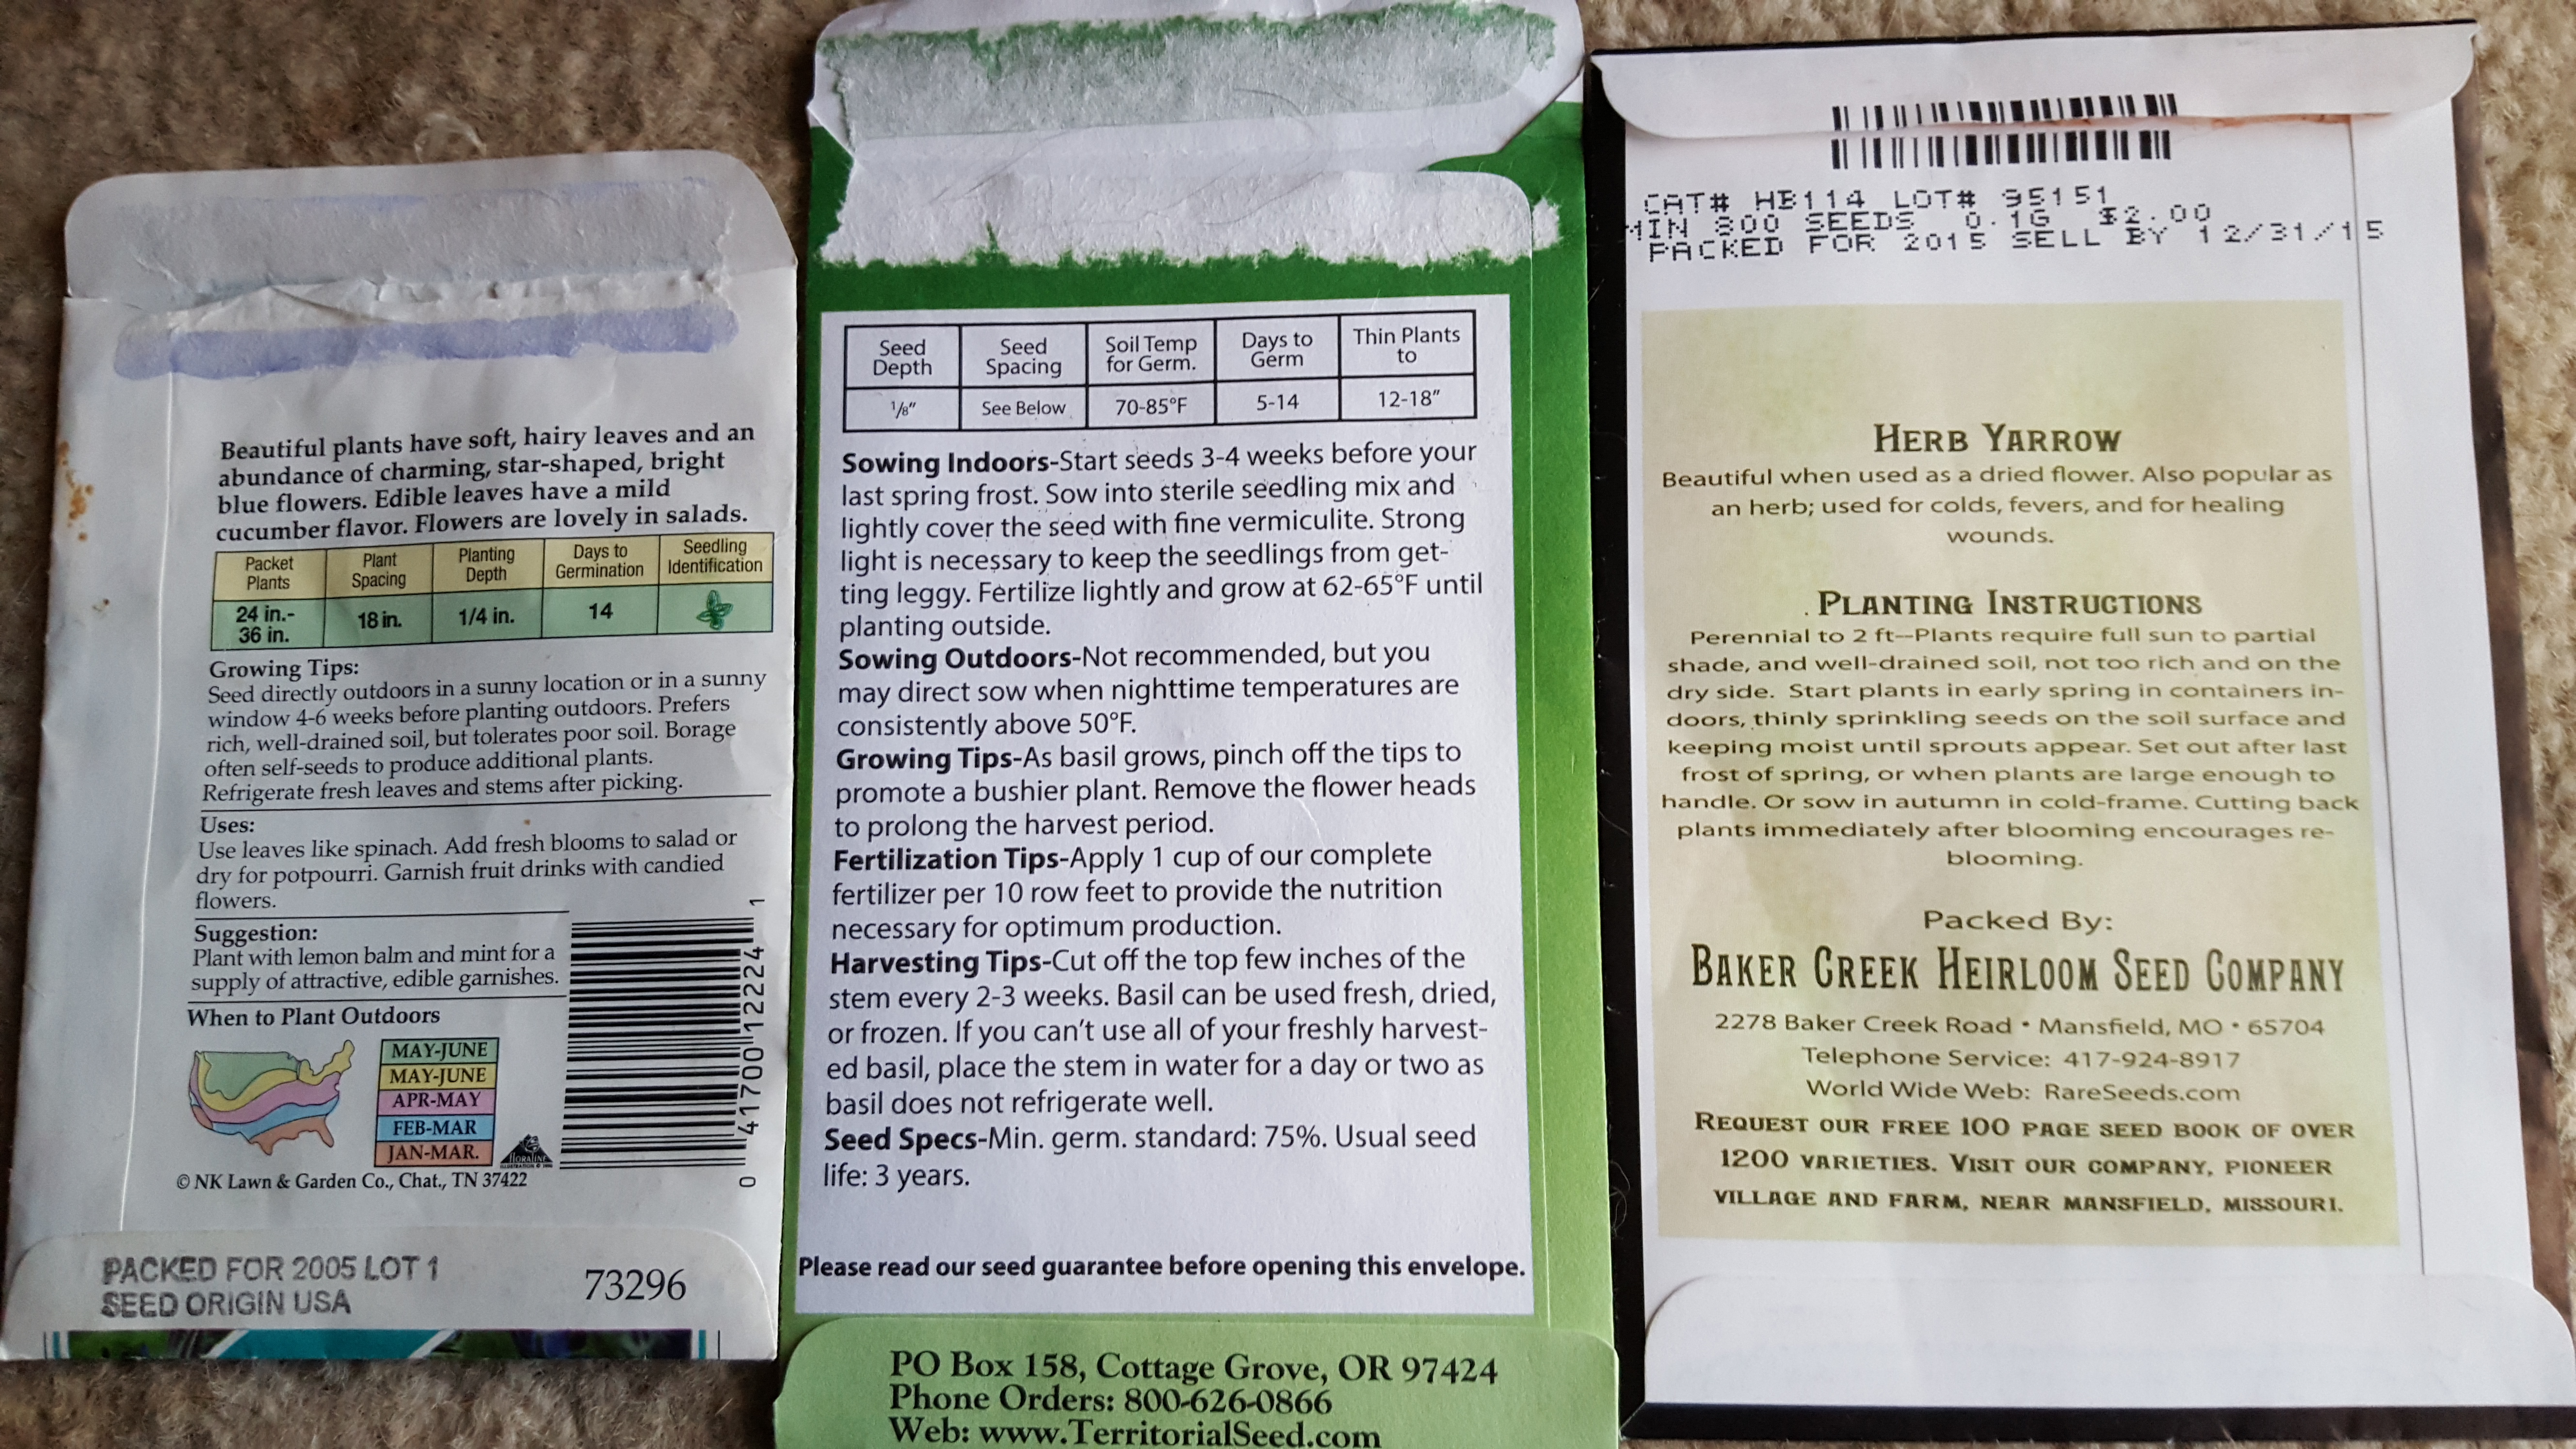
Seed packets with planting instructions
Seeds are my favorite way to grow herbs. Before I get into that, there are a few herbs that you cannot grow from seeds. Lavender is one of them. The germination rate of lavender seeds is miniscule. There is an AAS variety, Lady Lavender, that can be grown from seeds, but it is a small lavender. If you want the large Grosso or Provence with the marvelous wands or the medium Hidcote and Munstead, buy plants. Mints, rosemary, Bay Laurel, Lemon Verbena and Stevia should all be purchased as plants.
I direct sow a lot of my herb seeds but you can start them inside if you prefer. Start your seeds 6 to 8 weeks before the last frost date in your area. Use the same soil-less mix that you used for your cuttings.
Planting depth is critical. If you plant your seeds too deeply or too shallowly, germination will be very poor or non-existent. Read your seed packet carefully. Most of them tell you how deep to sow the seeds. A few don’t, so a good rule of thumb is to plant seeds 2 to 3 times as deep as the seed diameter.
That’s easy when working with good size seeds, but what do you do with tiny seeds like foxglove? Most tiny seeds are surface sown. Don’t cover them up. Many of them need sunlight to germinate. If you cover them, they will just sit there waiting for the sun to come up. Read your seed packet. It will tell you if you should surface sow.
Once you have sown your seeds, gently press them into the soil if surface sown or gently press down on the soil if they are covered. Don’t tamp it down hard. You don’t want to compact the soil, you just want to make sure that all of your seeds have good contact with the soil. This is important because seeds germinate when the soil reaches the correct temperature for them. That’s why you put heat mats under your seed flats. You are fooling your seeds into thinking that spring has arrived and it’s time to sprout.
Again, read your seed packet carefully. Cool weather plants like poppies, parsley and cilantro like the soil cooler than hot weather plants like basil. Annuals, like basil, are instant gratification. They sprout within a few days. Perennials take longer, sometimes 4 to 8 weeks. Be patient! Remember, annuals will be around for less than a year but perennials will be around for many years. They are worth waiting for.
Keep your seeds moist. Not wet, moist. Once they have two or three sets of leaves, it’s time to fertilize. Use the same 20-20-20 or 20-10-20 fertilizer that you use for your cuttings.
The last frost date has past and it’s time to plant your herbs outside. Don’t take them directly from inside your nice, warm, climate controlled house and put them directly into the garden with varying temperatures, wind and blazing sunlight. Not only will they go into shock, but plants, like us, get sunburned. So you need to ˝harden off˝ your seedlings before planting them outside. This takes about 10 days. Put your seedlings outside during the first day for an hour or so, and then longer each day until they are outside all day. Don’t put them in direct sunlight at first. Dappled shade is best and then increase the amount of sunlight until they can tolerate full sun.
Once your seedlings are hardened off, it’s time to plant them in your garden. Be sure to use 2 to 3 inches mulch to prevent weeds from growing and to hold moisture in the soil.
4 Comments on “Growing Herbs From Seeds and Cuttings”
Thank you Ilove your articles and share them with our herb group
Thank you! I hope that you and your herb group find them helpful. Please do not hesitate to contact me if anyone has any questions about herbs.
At the Maplewood Garden Club, you advised against seed starting soil from big box stores. What do you recommend, and where (other than Amazon) can I get it?
I always purchase soil from my local nursery. It is more expensive than the Big Box stores, but it is better quality.